Tire Wear Patterns: Diagnosis & Prevention Guide

tire-wear-patterns-guide

A mechanic looks at a tire the way a doctor looks at an X-ray — the tread is not just rubber, it is evidence. Every wear pattern tells you exactly what is wrong with the vehicle underneath: feathering means alignment, cupping means suspension, shoulder wear means inflation or axle problems. Tires are typically a fleet's third-largest expense behind labor and fuel, and improper tire management costs the average commercial fleet $2,500-$4,000 per vehicle annually through premature replacements, wasted fuel, and avoidable breakdowns. Yet most carriers look at tread depth and call it a day. Professional carriers treat every tire like a report card on their maintenance system. This guide covers the 8 most common wear patterns on commercial truck tires — what each looks like, what causes it, what to fix first, and how to prevent it from happening again. Train your drivers and technicians to read these patterns and you will catch problems weeks before they become roadside failures. Start your free HVI trial to digitize tire inspections with photo evidence and tread-depth tracking, or book a demo to see fleet tire analytics.

TIRE MANAGEMENT • DIAGNOSIS & PREVENTION GUIDE

8 Wear Patterns, Root Causes, Position-Specific Diagnosis & Corrective Actions

#3Tires are the 3rd largest fleet expense after labor & fuel
$2.5-4KAnnual cost per vehicle from improper tire management
4/32"DOT minimum tread depth for steer tires (49 CFR 393.75)
2/32"DOT minimum for drive & trailer tires

Quick Reference: Pattern → Cause → Fix

Tire Wear Pattern Diagnosis Chart
Pattern
What It Looks Like
Primary Cause
Fix First
Center Wear
Center strip worn faster than edges
Overinflation
Adjust to load-rated PSI
Both-Edge Wear
Both shoulders worn, center tread intact
Underinflation
Inflate to manufacturer spec
Inner Edge Wear
Inside shoulder worn faster
Negative camber / toe-out
Alignment check
Outer Edge Wear
Outside shoulder worn faster
Positive camber / toe-in
Alignment check
Feathering
Smooth one direction, sharp the other
Toe misalignment
Full alignment + inspect tie rods
Cupping / Scalloping
Scalloped dips / wavy surface
Worn shocks / suspension
Replace shocks, check bearings
Diagonal Wear
Flat spots crossing tread diagonally
Drivetrain forces / mismatched duals
Check dual matching + bearings
Flat Spot Wear
Localized bald spot on tread
Brake lock-up / skid
Inspect brake system

The 8 Wear Patterns: Detailed Diagnosis

1Center WearINFLATION
Appearance
Center rib or strip worn significantly faster than both shoulders. Tread depth at center is noticeably shallower than at edges.
Cause
Overinflation. Too much pressure pushes the center of the tread into the road more than the shoulders, concentrating wear in the middle. Can also occur during high-speed empty hauls where lighter loads reduce the tire footprint.
Positions
Most common on steer and drive tires. Especially prevalent in fleets that use a single inflation pressure regardless of load.
Fix
Adjust inflation to the manufacturer's load chart — not a guess, not a fleet-wide number. PSI should match actual load weight. Check TPMS calibration if equipped.
Prevention
Check pressures cold (before driving). Use load-specific inflation charts. Train drivers to verify pressure during pre-trip inspections.
2Both-Edge (Shoulder) WearINFLATION
Appearance
Both inner and outer shoulders worn faster than the center tread. Center still has good depth while edges are wearing down.
Cause
Underinflation. Low pressure causes the tire to sag, putting more weight on the edges. The U.S. DOT reports underinflated tires waste approximately 5 million gallons of fuel daily nationwide. Underinflation also generates excessive heat — the #1 cause of tire blowouts.
Positions
All positions. Especially dangerous on steer tires where a blowout compromises vehicle control.
Fix
Inflate to manufacturer-recommended PSI for current load. Check for slow leaks (valve stem, bead seal, punctures). Inspect for TPMS sensor malfunctions.
Prevention
Weekly pressure checks. TPMS installation for continuous monitoring. Driver pre-trip pressure verification. Never rely on visual "eyeball" checks — a tire can be 20% underinflated and look normal.
3Inner Edge WearALIGNMENT
Appearance
Inside shoulder worn significantly faster than the outside. May be accompanied by slight feathering on inner edge.
Cause
Negative camber (top of wheel tilted inward) and/or toe-out (front of tires pointed outward). Can also indicate worn suspension components — weak springs, bad bushings — causing the vehicle to sag and change suspension geometry.
Positions
Most common on steer tires. Thrust angle issues can cause one steer tire to wear inside while the opposite wears outside.
Fix
Full alignment check with camber and toe measurement. Inspect ride height — if the vehicle sits lower than spec, springs or air ride system may need attention. Check for bent components.
Prevention
Annual alignment checks (more frequent for high-mileage operations). Inspect suspension components at every PM. Avoid curb strikes and pothole impacts.
4Outer Edge WearALIGNMENT
Appearance
Outside shoulder worn significantly faster than the inside. The outer tread ribs are lower than center and inner ribs.
Cause
Positive camber (top of wheel tilted outward) and/or toe-in (front of tires pointed inward). Can be caused by worn kingpins, loose wheel bearings, or improperly adjusted axle alignment.
Positions
Steer tires primarily. Also shows on drive tires when axle alignment pushes thrust angle off-center.
Fix
Full alignment check. Inspect kingpins, tie rod ends, and wheel bearings for play. Verify axle alignment (drive axles can cause compensating steer tire wear).
Prevention
Regular alignment checks. Replace worn steering and suspension components before they cause tire damage. Log tire wear patterns at every inspection to catch trends early.
5FeatheringALIGNMENT
Appearance
Tread ribs smooth when rubbed one direction, sharp/rough when rubbed the other. Often described as a "sawtooth" feel across the tread bars. May not be visible — must be detected by touch.
Cause
Toe misalignment — the most common alignment-related wear pattern. Smooth-in = toe-in; smooth-out = toe-out. Can also result from counter-steering to compensate for drive axle misalignment. Feathering on steers is the earliest warning that the front end needs attention.
Positions
Primarily steer tires. Can appear on any position when axle alignment is off.
Fix
Full alignment check with focus on toe settings. Inspect tie rods, kingpins, and bushings before aligning — otherwise the alignment will not hold. Check for bent components if the issue returns quickly.
Detection Tip
Train drivers and technicians to rub their hands across the tread during every inspection. Feathering can be felt long before it becomes visible or creates noise. By the time the tire "howls," the damage is severe.
6Cupping / ScallopingSUSPENSION
Appearance
Scalloped dips or wavy high-low spots around the tread surface. Looks like waves cut into the tire. Creates a noticeable humming or rumbling noise at highway speed.
Cause
Worn shock absorbers or struts that cannot control tire bounce. The tire repeatedly "slaps" the road surface, creating cupped depressions. Also caused by worn bushings, loose wheel bearings, tire imbalance, and mismatched dual tire diameters/pressures.
Positions
Drive and trailer tires most commonly. Steer tires can cup when shocks are severely worn — this is a safety-critical situation, especially in wet conditions.
Fix
Do not just swap the tire — the problem is underneath. Replace worn shocks/struts. Check wheel bearings for play. Verify tire balance and wheel runout. If cupping is on steer position, address immediately.
Prevention
Include shock absorber inspection in every PM. Replace shocks on schedule (not just when they fail). Balance wheels at installation and after retread. Match dual tire diameters within 4/32" and pressures within 5 PSI.
7Diagonal WearDRIVETRAIN
Appearance
Localized flat spots crossing the tread in a diagonal pattern. Spots repeat at regular intervals around the tire circumference.
Cause
Mechanical forces from the drivetrain. Common causes: mismatched dual tire diameters or pressures, improperly adjusted or worn bearings, drive axle misalignment. Aggravated by high speed with light loads. Slow to develop but progressive.
Positions
Drive tires primarily. Can also appear on trailer tires with alignment or bearing issues.
Fix
Check dual matching (diameter and inflation). Inspect and adjust wheel bearings. Verify drive axle alignment. Reverse direction of rotation if wear is not severe — retreading may salvage the casing.
Prevention
Match dual tires within 4/32" tread depth and 5 PSI pressure. Regular bearing adjustment checks. Drive axle alignment at every alignment service.
8Flat Spot / Brake Skid WearBRAKES
Appearance
Localized bald spot across the tread face with visible abrasion marks. May show heat discoloration. Damage can extend into the casing.
Cause
Brake system issues: new brakes not worn in, unbalanced brake system, frozen brake lines, dragging brake from seized shoes, or driver abuse (panic stops, downhill braking). ABS malfunction can also cause single-wheel lockup.
Positions
Any position. Often appears on one tire only — the wheel with the brake problem.
Fix
Full brake system inspection. Check for dragging brakes, seized components, ABS sensor function, and brake balance across axle. Tire may be repairable or retreadable if casing is undamaged; otherwise scrap.
Prevention
Regular brake inspections with every PM. Proper brake break-in procedures for new pads/shoes. Driver training on progressive braking technique. ABS system checks.

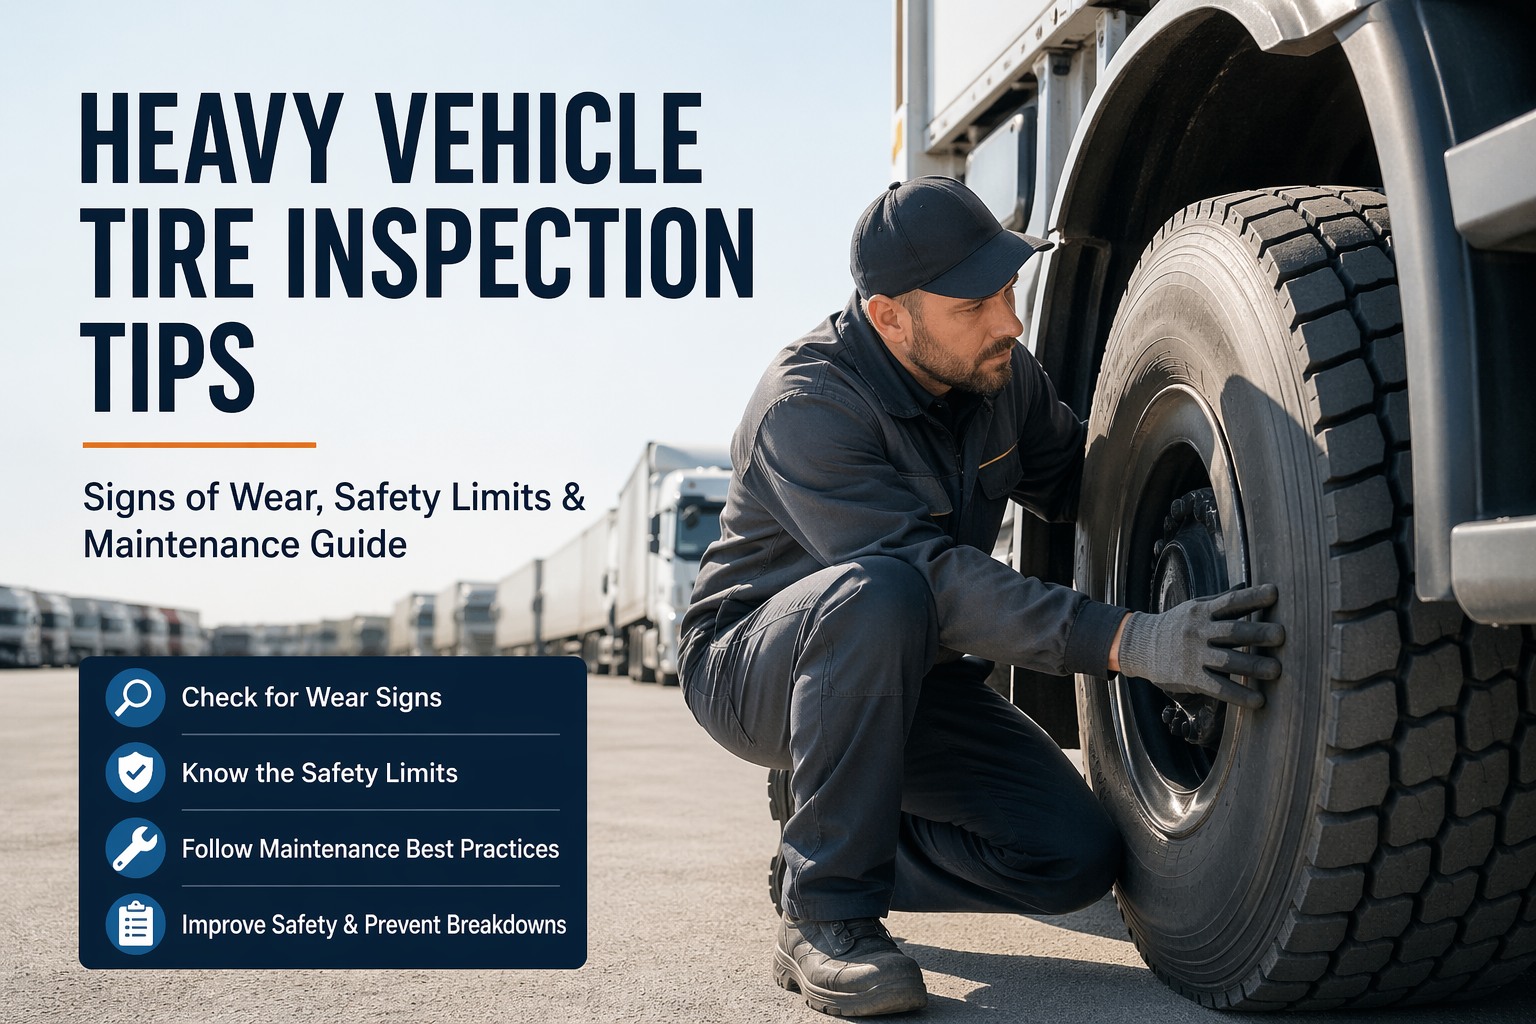
How to Read Tire Wear During Inspections

1
Use Your Hands, Not Just Your Eyes

Feathering and early cupping can be felt before they are visible. Train drivers and technicians to rub their hands across the tread surface — smooth one direction and rough the other means feathering. Scalloped dips mean cupping. This 10-second hand check catches problems weeks before they show up visually.

2
Measure Tread Depth at 3 Points

Check tread depth at the inner shoulder, center, and outer shoulder. A 2/32" or greater difference between any two points indicates a wear pattern problem. Record all three readings — the comparison over time reveals developing issues before they become critical.

3
Document with Photos

A photo of a wear pattern is worth 1,000 words on a paper checklist. Digital inspection platforms with photo capture let technicians document exactly what they see, creating a visual history that tracks pattern progression over time.

4
Log Pattern + Position + Vehicle

Record which pattern, which tire position, which vehicle. Over time, recurring patterns on specific vehicles expose chronic issues (bad alignment specs, route problems, driver habits). Recurring patterns across the fleet expose systemic issues (wrong tire spec, fleet-wide inflation practices).

5
Listen for Audio Clues

If a driver reports humming, rumbling, or vibration: take it seriously. Humming typically indicates cupping or irregular wear that is already well-established. Vibration at speed often points to balance issues or flat spots. Do not dismiss driver complaints as "road noise."

Prevention: 6 Practices That Extend Tire Life

Inflation Management

Check cold pressures weekly. Use load-rated inflation charts — not a fleet-wide single PSI. A tire 20% underinflated looks normal but loses 15% of tread life and wastes 3-5% more fuel. TPMS provides continuous monitoring for critical assets.

Regular Alignment Checks

Align at least annually and after any significant impact (curb strikes, pothole damage, component replacement). Misalignment by just 1/16" toe causes a tire to drag sideways 8 feet per mile — that is relentless, invisible wear.

Tire Rotation Schedule

Rotate tires at intervals recommended by the manufacturer or every 5,000-8,000 miles for on-road trucks. Rotation evens out position-specific wear patterns. Do not rotate tires just to hide a problem — diagnose the cause first, then rotate.

Suspension Maintenance

Include shocks, struts, bushings, and wheel bearings in every PM. Worn shocks are the #1 cause of cupping — the most destructive wear pattern. Replace shocks on a schedule, not just when they obviously fail.

Driver Training

Drivers cause tire wear through hard braking, aggressive cornering, curb strikes, and jackrabbit starts. Train drivers that tires expose their habits — and that smooth driving extends tire life by 15-25%. Include tire awareness in pre-trip inspection training.

Digital Inspection Tracking

Paper tire checklists get filed and forgotten. Digital inspections with photo evidence, tread-depth measurements, and pattern documentation create a searchable, trackable history. Trends across vehicles and time reveal problems that individual inspections miss.

HVI: Tire Inspections That Catch Problems Early

HVI captures tread depth at every inspection, stores photo evidence of wear patterns, and tracks trends across vehicles and time. Defects auto-generate maintenance work orders. Tread-depth trending forecasts replacement dates weeks in advance. Train drivers to document what they feel and see — HVI turns those observations into fleet-wide tire intelligence.

Frequently Asked Questions

Improper inflation pressure is the single most common cause. Underinflation causes both-edge shoulder wear and generates excessive heat (leading to blowouts), while overinflation causes center wear. The second most common cause is alignment issues (toe, camber), which produce feathering and one-sided edge wear. Regular pressure checks and annual alignments prevent the majority of irregular wear.

Run your hand across the tread. Feathering feels smooth in one direction and sharp/rough in the other — like stroking the edge of a bird's feather. Cupping feels like scalloped dips or waves — alternating high and low spots. Feathering = alignment problem (toe). Cupping = suspension problem (shocks, bearings, balance). Both can be felt before they are visible.

No — do not rotate to hide the pattern. Diagnose and fix the root cause first (alignment, inflation, suspension), then rotate. Rotating a feathered or cupped tire without fixing the underlying problem just moves the damage to a different position and can accelerate wear on the "new" position. Once the cause is fixed, rotation helps even out remaining tread.

Under 49 CFR 393.75: Steer axle tires require minimum 4/32" tread depth. All other positions (drive, trailer) require minimum 2/32". However, anything above 6/32" provides better confidence in wet or snow conditions. NHTSA recommends replacing tires every 6-10 years regardless of tread depth, as rubber compounds degrade with age even in storage.

At every pre-trip and post-trip inspection, drivers should include a visual and tactile tire check. Full tread-depth measurements with a gauge should occur at every PM service interval. Document patterns with photos and three-point depth readings (inner, center, outer). Between formal inspections, any driver complaint of vibration or humming should trigger an immediate tire check.

Often yes, if the casing is structurally sound. Michelin's irregular wear guide recommends: feathered tires can be rotated or retreaded. Cupped tires can continue running or be retreaded if the cause is corrected. Diagonal wear tires can be reversed in rotation direction or retreaded. Flat spot (brake skid) tires can be retreaded if the casing is undamaged. Always have the retreader inspect the casing with shearography before processing.

Your Tires Are Talking — Start Listening

Every wear pattern is a diagnosis. HVI gives your drivers and technicians the tools to document what they see and feel, track patterns over time, and catch problems before they cost you tires, fuel, and safety.

No credit card • No hardware • Setup in under 10 minutes


Share This Story, Choose Your Platform!

Start Free Trial Book a Demo