One in five trucks pulled over at a DOT inspection doesn't make it back on the road. During the 2025 CVSA International Roadcheck, inspectors examined 56,178 commercial vehicles across North America and placed 10,148 trucks and 3,342 drivers out of service — an 18.1% vehicle OOS rate. The top three shutdown triggers? Brakes (24.4% of all vehicle OOS violations), tires (21.4%), and lighting defects. Every single one of these failures is something a thorough pre-trip inspection should have caught before the truck left the yard. This guide covers the exact 37-point inspection process that mirrors a Level I DOT inspection — broken down into a practical 15-minute walk-around method that catches the defects inspectors are trained to find. Sign up for HVI to digitize your pre-trip inspections with photo verification and automatic defect escalation, or book a demo to see how it works for heavy fleets.
Stop 41% of Roadside Shutdowns Before They Happen
Top 5 Roadside Shutdown Triggers (2025 CVSA Data)
These five defect categories caused the overwhelming majority of out-of-service orders during 2025 roadside inspections. Each one is detectable during a proper pre-trip inspection — if you know where to look and what to document:
Don't risk a $760/day shutdown. Start using HVI's digital pre-trip checklist — photo-verified, GPS-stamped, with automatic defect escalation to maintenance.
Complete 37-Point Pre-Trip Inspection Checklist
This checklist follows the North American Standard Level I Inspection — the same 37-step process CVSA-certified inspectors use during roadside checks. Organized by walk-around zone so drivers can follow a logical path around the vehicle:
Brake System Deep Dive: 41% of All Shutdowns
Brake-related violations are the number one reason trucks get shut down at roadside inspections — and have been for over a decade. During the 2025 CVSA Brake Safety Week, inspectors examined 15,175 vehicles and placed 2,296 (15.1%) out of service for brake defects alone. Even during a week when the industry knows inspectors are specifically targeting brakes, one in seven trucks fails. Here's exactly what inspectors check:
Pushrod travel beyond allowable limits is the single most cited brake OOS violation. Check: With brakes released, measure pushrod travel manually or have brakes applied and check. Automatic slack adjusters must maintain proper adjustment — manual adjustment of automatic adjusters is a sign of underlying failure.
Chafing, kinking, cracking, or any audible air leak in hoses or tubing triggers OOS. Check: Listen for leaks with engine running and brakes applied. Visually inspect all hose routing for contact with moving parts or hot surfaces.
Cracks extending to open edge, heat checking, or wear beyond manufacturer limits. Check: Look for cracks visible on the outer surface of drums. Any crack that opens to the edge of the drum is an immediate OOS condition.
If 20% or more of a vehicle's total brakes are out of adjustment or defective, the entire vehicle is placed OOS. For a typical 5-axle combination (10 brakes), just 2 defective brakes trigger this threshold. Check: Every brake on every axle, every trip.
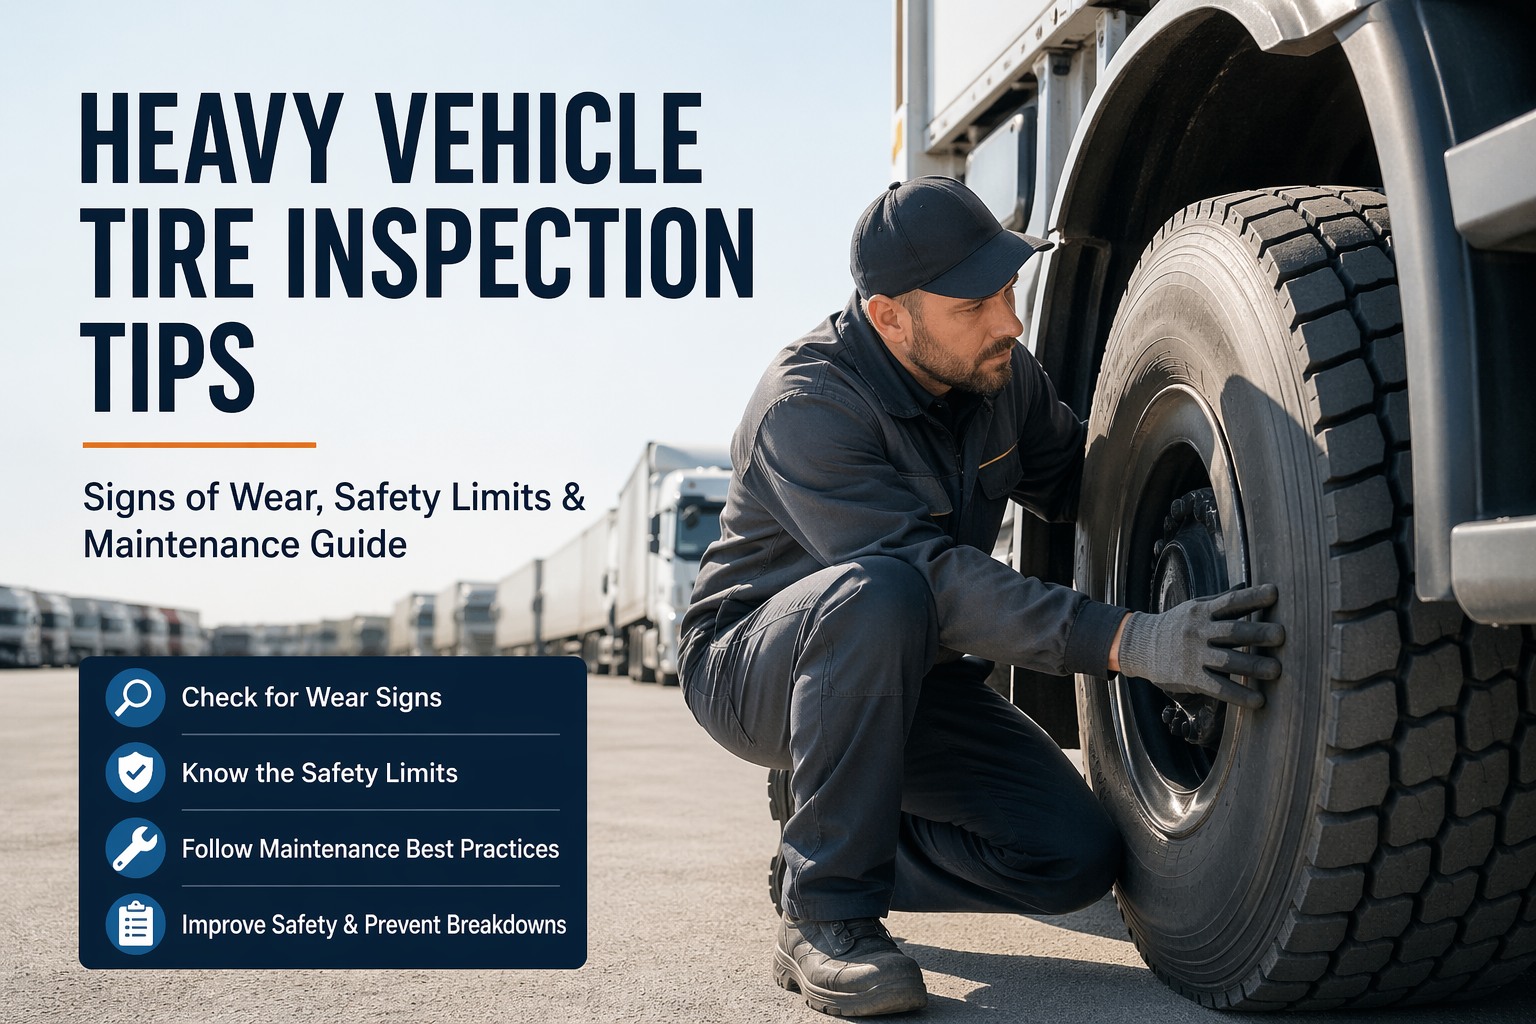
Tire Inspection Guide: 21% of OOS Orders
Tires were the second-highest cause of out-of-service violations in 2025 (21.4% of all vehicle OOS orders). During the 2025 Roadcheck focused specifically on tires, inspectors identified 2,899 tire-related OOS violations. Here's what catches drivers off guard:
Steer axle: minimum 4/32" in every major groove. Drive and trailer axles: minimum 2/32". Use a gauge, not your eyes — visual estimates miss marginal cases. Measure at the shallowest point.
Any cut, crack, or bulge exposing cord body ply is an immediate OOS. Check both inner and outer sidewalls — inner sidewall damage is frequently missed during quick walk-arounds.
Below 50% of maximum sidewall pressure is an OOS violation. Use a calibrated tire gauge — not the "thump test." Check cold tires when possible. A tire at 50 psi on a 110 psi sidewall rating is dangerously close to OOS.
Objects lodged between duals (rocks, debris), mismatched tire sizes on same axle, and contact between duals are all violations. Pull objects from between duals during every pre-trip — this takes 10 seconds per axle and prevents tire damage.
Lights & Reflectors: The Most-Cited Roadside Violation
Lighting violations were the number one most-cited roadside violation in 2023-2024, with inoperable required lamps topping the list. While not all lighting violations trigger OOS orders, critical failures like dead brake lights, missing headlights, and inoperative turn signals on both sides will shut you down immediately:
Spec LED lights to reduce failures — LEDs have multiple diodes so a single element failure doesn't kill the entire light. Walk all the way around with lights, signals, and brake activated. Have someone step on the brake pedal while you check rears.
The 15-Minute Pre-Trip Method
The biggest reason drivers skip thorough pre-trip inspections isn't laziness — it's that they don't have an efficient system. This 15-minute method follows a logical walk-around path that ensures nothing is missed while keeping you on schedule:
Engine on. Check all gauges, warning lights, air pressure build-up. Test horn, wipers, heater/defroster. Fasten seatbelt. Set parking brake. Engage headlights, turn signals, flashers.
Exit cab. Check headlights (both beams), front turn signals. Open hood: oil level, coolant, power steering fluid, belts, hoses. Close hood. Check steering components, steer tires.
Walk down driver side: check each tire (tread, pressure, sidewalls, lugs), brake components (pushrod, hoses, drums), hub seals, fuel tank, exhaust, frame. Listen for air leaks at each brake chamber.
Check all rear lights (tail, brake, turn, clearance, reflectors). Inspect every trailer tire, brake component, and air line. Check coupling devices, doors, latches, mud flaps. Clear debris from between duals.
Walk back up passenger side: repeat tire, brake, hub, and frame checks. This side is frequently skipped — inspectors know this and check passenger side first.
Back in cab: air brake leak-down test, low-air warning test, parking brake hold. Check safety equipment (fire extinguisher, triangles). Sign and submit your DVIR.
HVI's mobile app guides drivers through this exact walk-around sequence with photo checkpoints at each zone. Average completion time: under 8 minutes with full photo documentation.
Frequently Asked Questions
Yes. Under 49 CFR 396.13, drivers must review the last DVIR and be satisfied the vehicle is safe before operating it. Drivers must also prepare a DVIR at the end of each day's work on any vehicle they operated (when defects are found). The pre-trip inspection is a federal requirement, not a suggestion — failure to inspect is itself a violation that can be cited during audits and roadside checks.
A Level I inspection is the most comprehensive DOT roadside inspection — 37 steps covering both vehicle and driver. A thorough pre-trip inspection covers the same vehicle components. The difference is that inspectors also check driver credentials (CDL, medical certificate, HOS logs, Clearinghouse status). If your pre-trip catches everything a Level I would find on the vehicle side, you're virtually immune to vehicle OOS orders.
A thorough pre-trip should take 12-15 minutes using a systematic walk-around method. Rushing it under 5 minutes almost certainly means components are being skipped. With HVI's guided digital inspection app, drivers average under 8 minutes because the app sequences the walk-around and eliminates time spent on paperwork. The key is consistency — a habitual 15-minute routine catches more defects than an occasional 30-minute deep inspection.
If a safety-critical defect is found (anything that would be an OOS violation), the vehicle must not be dispatched until the defect is repaired and the repair is certified. The driver documents the defect on their DVIR, maintenance is notified, the repair is completed and certified by a technician, and the driver reviews and signs off before operating. With HVI, this entire chain is automated — defects instantly generate work orders and the vehicle is flagged as unsafe to dispatch until the repair certification is complete.
Yes. FMCSA accepts digital DVIRs as long as they meet all requirements of 49 CFR 396.11 — driver identification, vehicle identification, condition of each component category, defect descriptions, and driver certification. Digital platforms exceed paper by adding timestamps, GPS location, photo verification, and tamper-evident audit trails. DVIR records must be retained for at least 3 months and be producible within 48 hours if requested by auditors.
Stop Roadside Shutdowns Before They Start
18.1% of trucks inspected during the 2025 CVSA Roadcheck were shut down on the spot. Every one of those failures — brakes, tires, lights, cargo — was detectable during a pre-trip inspection. The difference between fleets that get parked and fleets that pass clean isn't luck — it's a systematic, documented inspection process performed consistently every day.
Make Every Pre-Trip Count
HVI's digital inspection platform turns your 37-point pre-trip into a guided, photo-verified, GPS-stamped process that takes under 8 minutes — with defects automatically escalated to work orders and vehicles flagged until repairs are certified.
No credit card required • No hardware needed • Drivers inspecting in under 10 minutes