Brake systems are the #1 source of out-of-service violations at commercial vehicle roadside inspections — accounting for 30% of all vehicle OOS orders during the 2025 CVSA International Roadcheck. FMCSA research identifies brakes as a contributing factor in 29-30% of all truck crashes. Every unannounced CVSA Brake Safety Day and the 72-hour Brake Safety Week (August 23-29, 2026) targets exactly what a proper daily brake inspection catches before the inspector arrives. The fleets that consistently pass every brake inspection do the same things: they understand the air brake system well enough to spot defects before the CVSA-certified officer does, their drivers perform a complete in-cab air brake test before every shift, and their technicians track pushrod stroke, air loss rates, and lining thickness on every PM. This guide covers every element of a complete heavy vehicle brake inspection — the walk-around visual check, the 7-step in-cab air brake test, the CVSA-standard pushrod stroke limits, warning signs drivers must never ignore, and the inspection schedule that keeps fleets on the right side of 49 CFR § 393.47.
HVI digitizes brake inspections with pushrod stroke tracking, photo evidence of lining wear, and automatic work-order routing when a defect is flagged. Track every brake adjustment across your fleet in real time.
Why brake inspections matter — the 2026 enforcement reality
Before walking through the inspection procedure, understand what is actually at stake. Brake violations carry the highest severity weighting of any maintenance category under the 2026 CSA overhaul, and the financial, operational, and safety consequences compound fast.
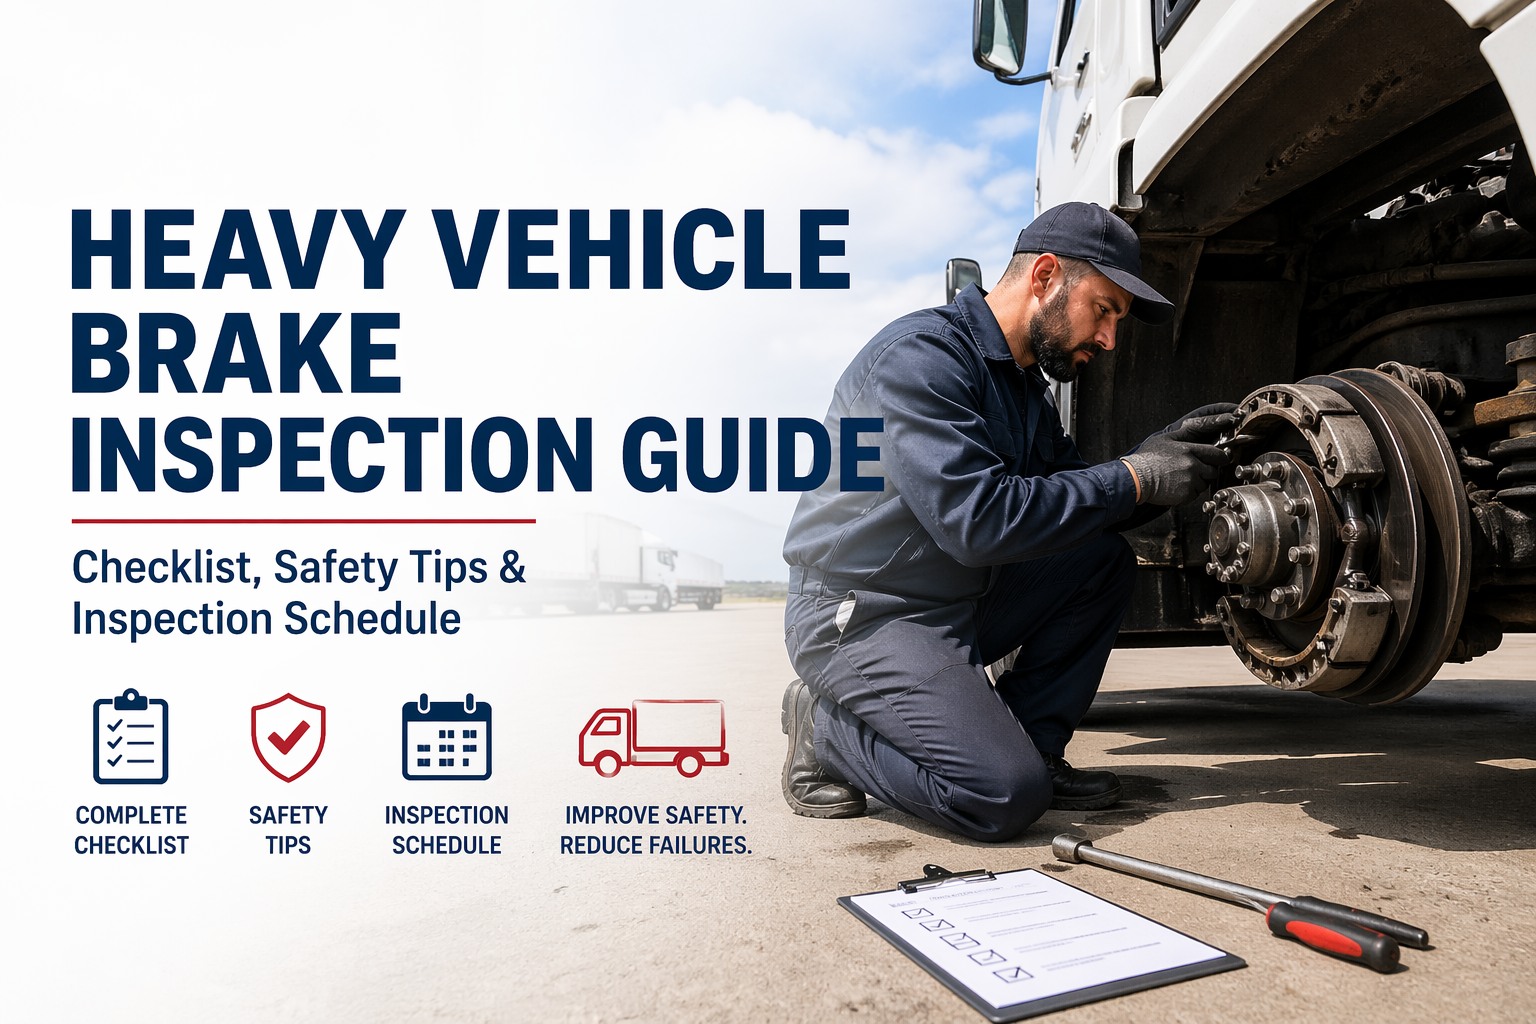
Step 1 — The visual walk-around brake check
Before touching any in-cab controls, every brake inspection starts outside the vehicle. Park on level ground, chock the wheels, release parking brakes, and work systematically through the components below.
If belt-driven, check belt condition and tightness. Listen for unusual noises at idle. Inspect compressor mounting bolts for looseness or shift.
Inspect all chambers for cracks, clogged vent holes, bent pushrods, loose mountings, and damaged air fittings. Check chamber brackets for cracks or bent areas.
With parking brake released and gloves on, pull each slack adjuster hard. Movement of more than 1 inch where pushrod attaches indicates adjustment needed.
Drums must not have cracks longer than 1/2 the width of the friction area. Linings must be at least 1/4 inch thick at the center, not loose, cracked, or oil-soaked.
Check hoses connected to brake chambers for cuts, abrasion, or wear from rubbing. Look for line kinks and bulging under pressure.
Listen at every connection — chambers, fittings, glad hands, couplers. A faint hiss at low pressure becomes a major leak at operating PSI. Ultrasonic detectors help.
Step 2 — The 7-step in-cab air brake test
Once the walk-around is complete, the in-cab air brake test validates system performance across compressor, governor, warning devices, and emergency systems. Every CDL driver must perform this test before every workday per 49 CFR § 392.7.
Build pressure to normal operating level. Governor should cut out between 120-135 PSI. Pump brakes to reduce pressure — governor should cut back in by 100 PSI or earlier.
From 85 to 100 PSI, dual air systems should build in 45 seconds or less at operating RPM. Slow build-up indicates compressor, governor, or leak issues.
With engine off and brakes released, loss must not exceed 2 PSI per minute on tractor only, 3 PSI per minute on combination vehicle. Exceeding = OOS.
With brakes applied firmly for 1 full minute, loss must not exceed 3 PSI on tractor only, 4 PSI on combination. Exceeding = OOS violation.
Fan brakes to reduce tank pressure. Warning signal (light + buzzer) must activate before pressure drops below 60 PSI. Critical safety fail-safe.
Continue fanning brakes. Both red (parking) and yellow (trailer) dash valves should pop out at 20-45 PSI, automatically applying spring brakes.
At low speed (approx 5 mph), apply service brake firmly. Brake should grip cleanly without pull, grab, or unusual sound. Pedal should feel firm, not spongy.
Step 3 — Pushrod stroke limits (the OOS threshold that catches fleets)
The single most common brake adjustment issue at roadside is excessive pushrod stroke — the distance the pushrod travels when brakes are applied. Measurements must be taken with air system at 90-100 PSI per 49 CFR § 393.47 inspection procedure. Exceeding the limit is an automatic OOS.
Warning signs drivers must never ignore
Brake systems rarely fail without warning. The symptoms below are the driver's early-warning system. Any one of these on any shift means the vehicle goes into the shop — not back on the road.
Indicates uneven brake force, often from a brake adjustment imbalance, contaminated lining on one wheel, or air line blockage. Dangerous at highway speed.
Warning buzzer/light before 60 PSI means air pressure has dropped dangerously. Pull over immediately. Spring brakes will apply automatically at 20-45 PSI.
Feeling like the truck needs more distance to stop than yesterday means brake force has degraded. Often a sign of glazed linings, out-of-adjustment brakes, or air system issues.
Hissing sounds — faint or loud — at connections or chambers. Small leaks compound. Applied air loss exceeding 3 PSI (tractor) or 4 PSI (combination) per minute = OOS.
Brake pedal feels soft, travels too far, or responds slowly to input. Indicates air contamination, mechanical slack, or low system pressure. Never drive.
Dragging brake generating heat. Points to out-of-adjustment brake, stuck caliper, or failed return spring. Risks heat-damaged drum and potential fire.
The brake inspection schedule — daily, weekly, monthly, annual
Different brake checks happen at different intervals. Running everything on a daily basis is impractical; skipping the longer-interval checks is dangerous. This schedule reflects industry best practice and FMCSA Appendix G standards.
Full walk-around visual, 7-step in-cab air brake test, pushrod stroke spot-check, low-air warning function. Required by 49 CFR § 392.7 before every shift.
Pushrod stroke measurements at every wheel end. Slack adjuster free-play check. Air line integrity review. Lining thickness measurement on exposed components.
Lube brake adjusters, chamber brackets, anchor pins. Inspect return springs, camshaft bushings, cam rollers. Check air dryer and purge cycle function.
Formal pushrod stroke measurement on every wheel end under 90-100 PSI. Documentation for compliance file. Preventive slack adjuster replacement where indicated.
Full brake drum/rotor inspection, lining measurement, chamber diaphragm check, ABS system diagnostic, air system pressure decay validation. Qualified inspector under Appendix G.
Frequently asked questions — heavy vehicle brake inspection
Digitize every brake inspection — from driver walk-around to technician PM.
HVI captures pushrod stroke measurements, photo evidence of lining wear, air loss rate results, and the full 7-step in-cab test on every inspection. Defects route to the right technician automatically. Trends across your fleet forecast when to replace slack adjusters before they fail roadside. Stop losing trucks to brake OOS orders that digital inspection catches weeks earlier.
No credit card required · Full brake inspection workflow live in minutes · Audit-ready records with 90-day retention guaranteed